 |
Bolt an arm on with one nut and bolt. You can see that we need to put
a little curve into the tail of the shank to make it fit properly around the
circumfrence of the cap. |
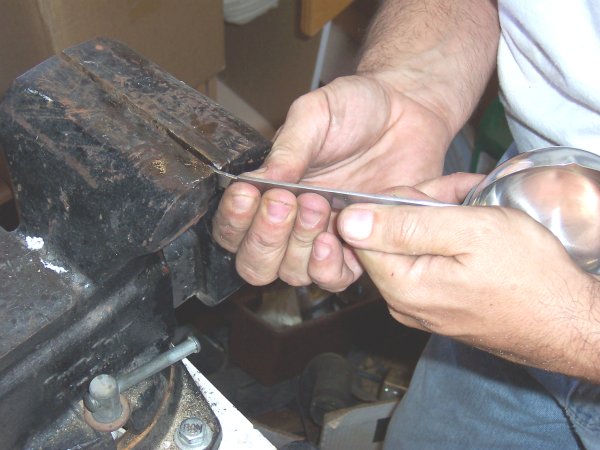 |
Working slowly, one tiny bend at a time, bend the tip of the metal in small increments
until it fits ... |
 |
... like this. |
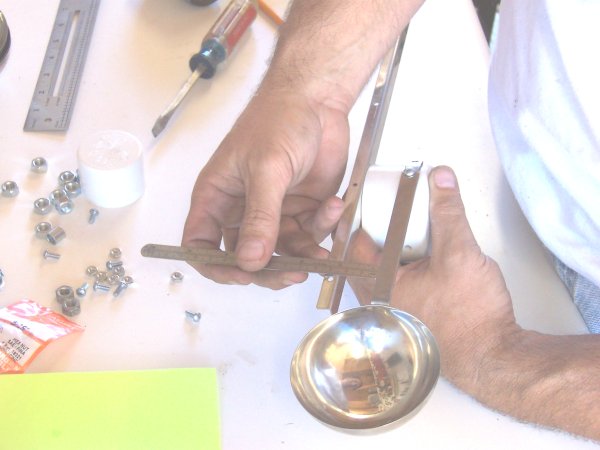 |
Using a straight edge, make sure the arm is parallel to the rim of the cap, and
then drill the second hole, and add the second nut and bolt. Repeat this process for each
of the three remaining arms. |
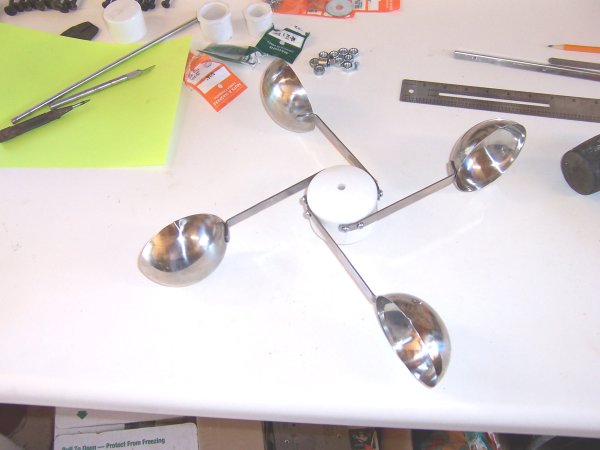 |
When you're done, it'll look like this.
NOTE: After mine had been in the wind for a few weeks, the cut arms started to come loose.
I reassembled them to the cap using a little 'Threadlocker' from the auto parts place and
they never came loose again. |
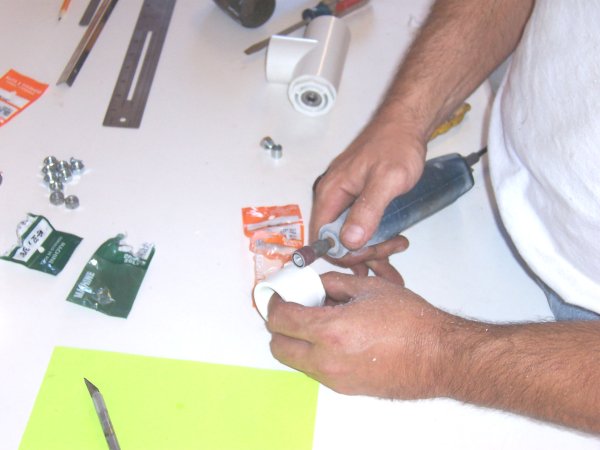 |
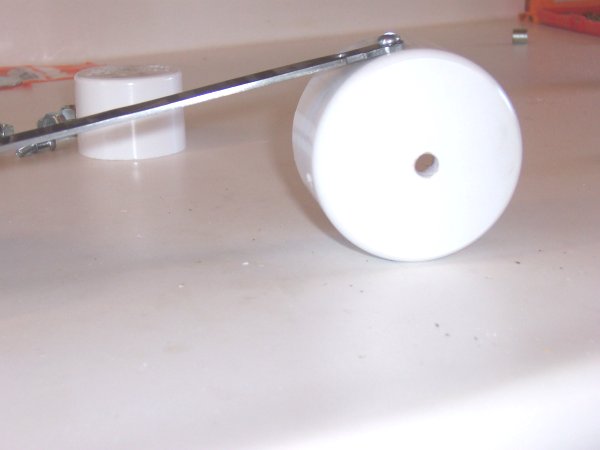
Now for the bottom weather cap. The bottom bearing mount has a rim that we have to remove
so that the cap will fit over it, hiding the bearing, shaft, and nuts on the bottom. The
grinder works well for this. Now, bolt all the pieces together, and . . . . . . . |
Go To Next Page
|
|