 |
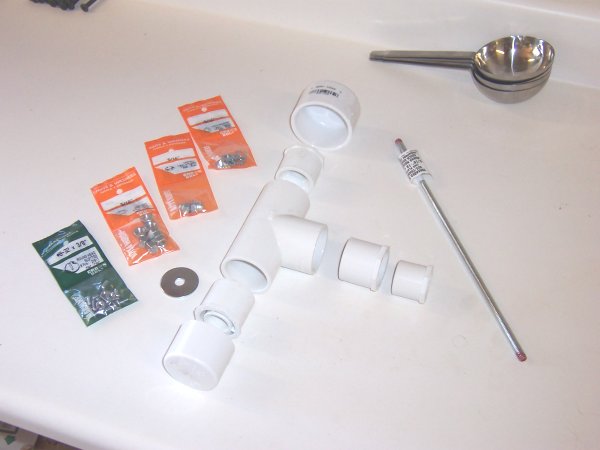
With the bearings found and the metal cups procured, it's time to make a body for the
anemometer. I found everything I needed at Home Depot. Total cost: $7.00. The parts are
layed out pretty much as they will be assembled. Starting from the bottom:
PVC END CAP (This will keep the weather out of the bottom of the sensor.)
PVC REDUCER (This will hold the bottom bearing.)
PVC "T" FITTING (The optical sensor will go in here)
PVC REDUCER (This will hold the upper bearing)
PVC END CAP (The wind cups will attach to this cap)
|
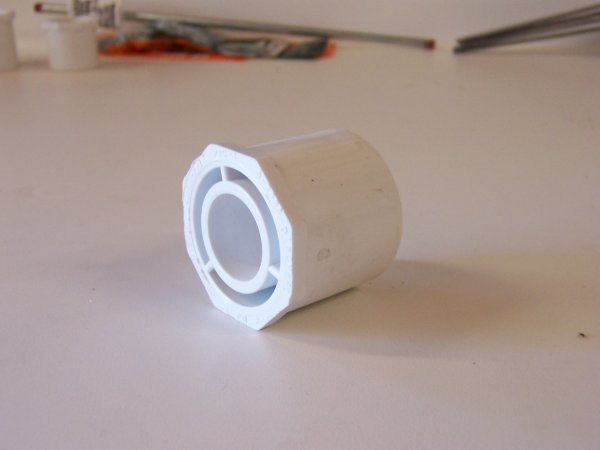 |
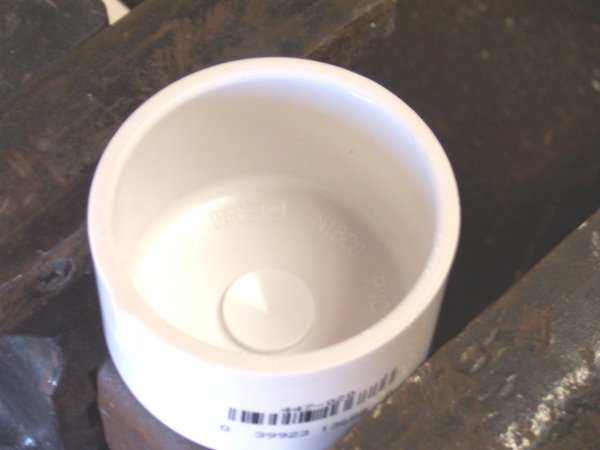
This is the 1 1/4" X 1/2" PVC adapter that will serve as the bearing housing, both
at the top and the bottom of the "T". The center hole has to be opened up a little
bit so the bearing will fit SNUGGLY inside.. |
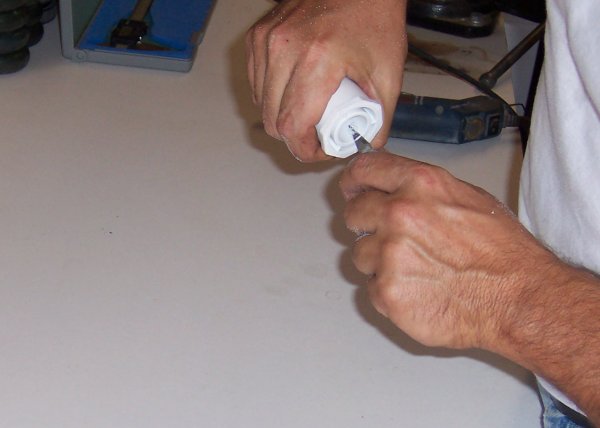 |
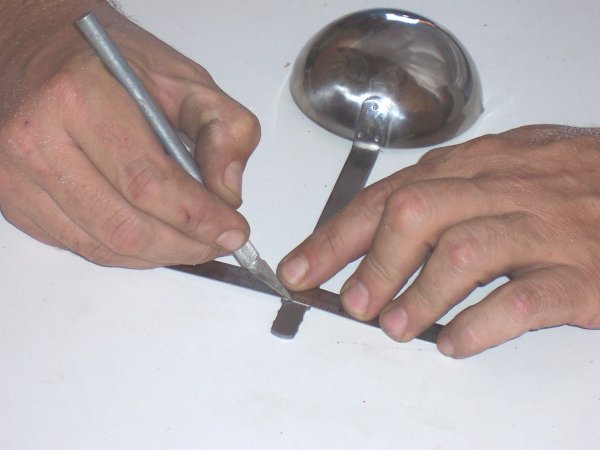
I tried using a Dremel tool on the first one, but it was too easy to take too much
material out. For the second one I shaved out the opening with an X-Acto knife.
This gave me much more control, but it took a fair amount of work and time to get
the bearing to fit snuggly .... |
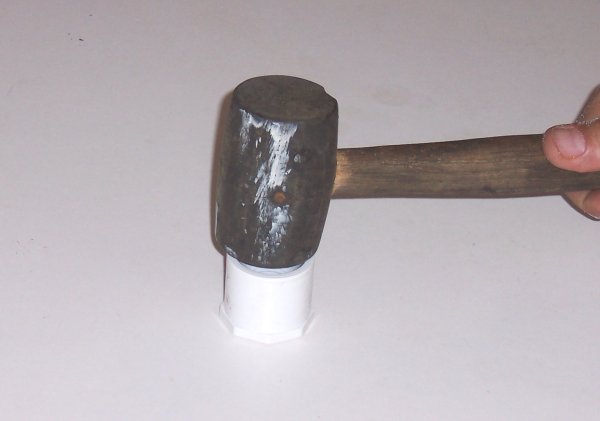 |
Snuggly enough that you have to tap the bearings in to install them. |
 |
Here are the two bearing housings with the bearings installed. |
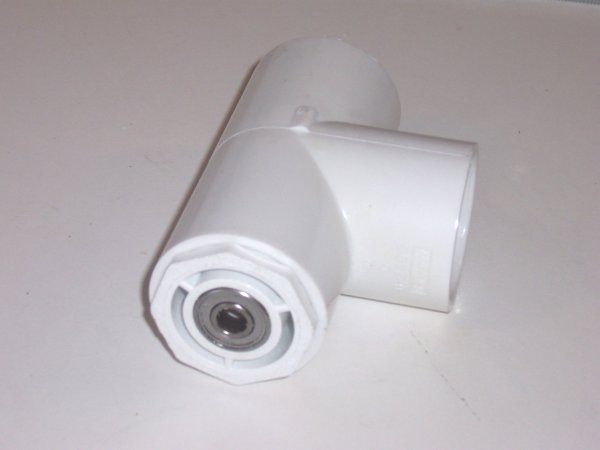 |
And here they are in the ends of the "T" fitting. |
 |
Then the threaded rod goes through, with nuts on both ends to hold the whole
thing together. You may need a small washer so that the nuts ride only on the
center part of the bearing, and do not rub on the bearings' race cover or
outer ring. |
 |
Now for the top cap. My PVC CAP had a nice concave dent in the middle of the
that made it very easy to get the 5/16" hole dead center. You may have to measure
very carefully if your cap is different. The threaded rod will go through this hole
attaching this wind cup / cap assembly. |
 |
Each of the cup arms needs to get two holes so that it can be attached to the
weather cap assembly. I scribed a two lines, then center-punched them to guide the drill. |